Introduction to the 1st Generation Honda Ridgeline
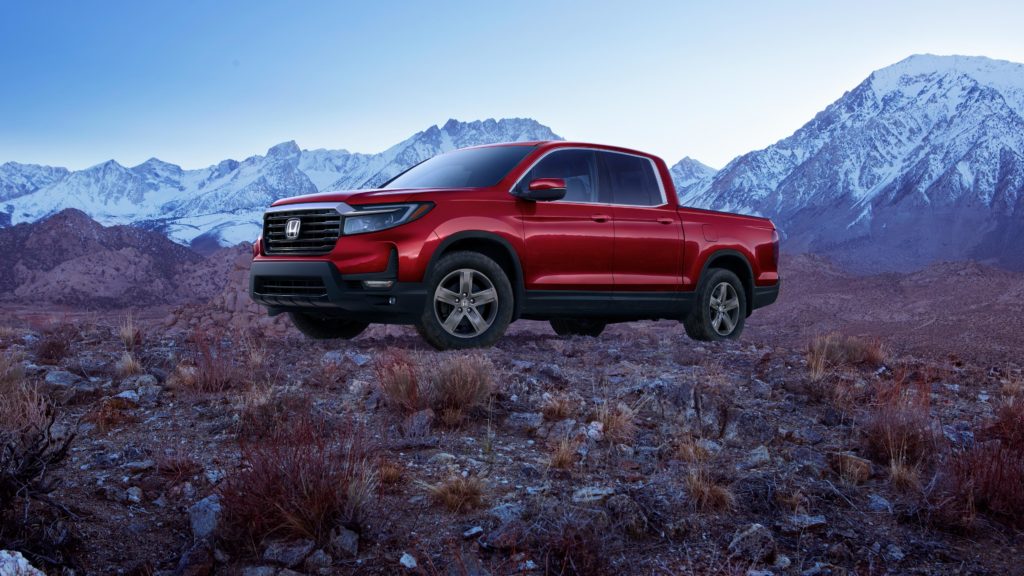
Safety on the road is a priority for all of us. The Honda Ridgeline is a popular midsize truck known for its durability and reliability on the road. With its sleek design and powerful performance, many owners are proud to call this vehicle their own. However, over time, the dashboard light bulbs in the 1st generation Honda Ridgeline may start to dim or even burn out completely, causing inconvenience and potential safety hazards while driving. This article will guide you through reviving your Honda Ridgeline’s dashboard lights with a step-by-step repair guide.
The Importance of Dashboard Light Bulbs
Dashboard light bulbs are crucial in providing essential information to the driver while on the road. These bulbs illuminate various indicators, such as the check engine light, oil pressure warning, and turn signals. Having these lights in proper working condition is important to ensure the driver is aware of any potential issues with the vehicle. Dim or non-functioning dashboard lights can lead to confusion and may put the driver and other road users at risk. Therefore, it is essential to regularly inspect and maintain the dashboard light bulbs in your Honda Ridgeline 1st Generation.
Tools and Materials Needed for Dashboard Light Bulb Repair
Gathering the necessary tools and materials before you repair your Honda Ridgeline’s dashboard light bulbs is essential. Here is a list of items you will need:
- Screwdriver set
- Replacement dashboard light bulbs (specific to your Honda Ridgeline model)
- Small pliers
- Safety gloves
- Clean cloth
Having these tools and materials readily available will ensure a smooth and efficient repair process.
Step-by-Step Guide to Replacing Dashboard Light Bulbs in the Honda Ridgeline 1st Generation
Now that you have all the necessary tools and materials, let’s dive into the step-by-step guide to replacing dashboard light bulbs in the Honda Ridgeline 1st Generation:
- Prepare the workspace: Before starting any repairs, ensure the vehicle is parked in a safe and well-lit area, providing enough space and visibility to work on the dashboard without any hindrances.
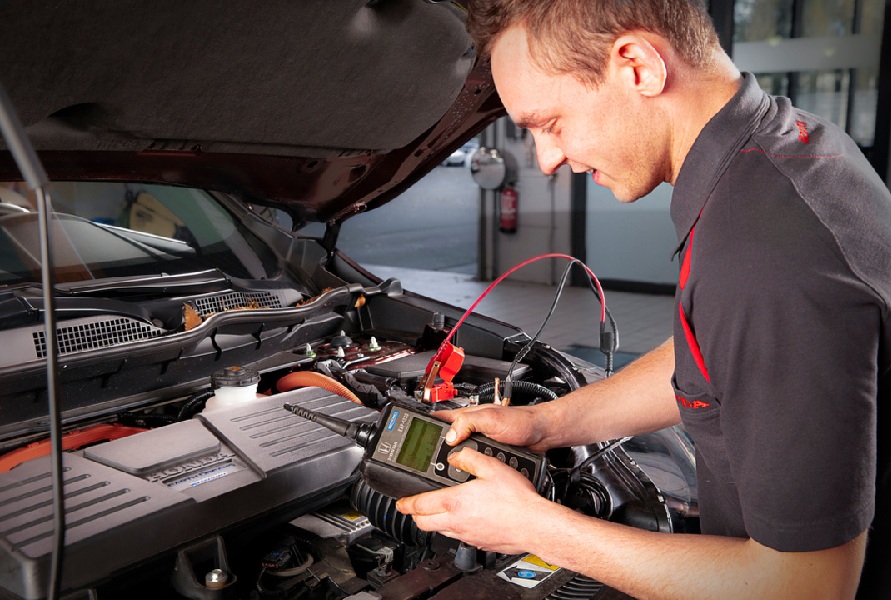
- Disconnect the battery: Before working on the dashboard, it is important to disconnect the battery to avoid any electrical mishaps and prevent any potential short circuits or accidental shocks.
- Remove the dashboard cover: Using a screwdriver, carefully remove the screws holding the dashboard cover in place. Gently pry off the cover, being mindful not to damage any surrounding components.
- Locate the faulty light bulb: Once you remove the dashboard cover, you can access the light bulbs. Identify the bulb that needs to be replaced by checking the corresponding indicator on the dashboard.
- Replace the light bulb: Using a small pair of pliers, carefully remove the faulty light bulb by gently twisting it counterclockwise. Take the replacement bulb and insert it into the socket, turning it clockwise until it is securely in place.
- Test the new light bulb: Before reassembling the dashboard, reconnect the battery and test the newly installed light bulb. Ensure that it illuminates properly and matches the brightness of the surrounding bulbs.
- Reassemble the dashboard: After confirming that the new light bulb is functioning correctly, reattach the dashboard cover. Secure it in place using the screws you removed earlier.
- Reconnect the battery: Finally, reconnect the battery to restore power to the dashboard. Double-check that all components are properly secured and functioning as expected.
Tips for Dashboard Light Bulb Issues
Even after replacing the dashboard light bulbs, you may encounter some issues. Here are a few tips to help you address common problems:
- Dim or flickering lights: If the newly installed light bulbs appear dim or flicker, check the wiring connections. Loose or damaged wires can affect the bulbs’ performance. Ensure all connections are secure and replace any damaged wiring.
- Uneven brightness: If some dashboard light bulbs are brighter than others, it may be due to variations in the bulbs’ age or quality. Consider replacing all the bulbs to achieve uniform brightness.
- Continued bulb failure: If your Honda Ridgeline’s dashboard light bulbs burn out frequently, it may indicate an underlying electrical issue. In such cases, you should consult a professional mechanic for a thorough inspection and repair.
Following these troubleshooting tips, you can address common dashboard light bulb issues and ensure optimal performance of your Honda Ridgeline dashboard symbols.
Maintenance and Care for Honda Ridgeline Dashboard Lights
It is vital to incorporate regular maintenance and care to prolong the lifespan of your Honda Ridgeline’s dashboard light bulbs and prevent future issues. Here are some maintenance tips to keep in mind:
- Clean the dashboard: Dust and debris can accumulate on the dashboard, affecting the brightness and clarity of the light bulbs. Regularly clean the dashboard using a clean cloth to remove dirt or grime.
- Check for loose connections: Periodically inspect the wiring connections behind the dashboard to ensure they are secure. Loose connections can lead to dim or flickering lights.
- Monitor bulb performance: Monitor the dashboard light bulbs’ performance closely. If you notice any dimming or inconsistencies, address the issue promptly to prevent further complications.
By incorporating these maintenance practices, you can optimize the performance and longevity of your Honda Ridgeline’s dashboard light bulbs.
Where to Purchase Replacement Dashboard Light Bulbs for Honda Ridgeline 1st Generation
When purchasing replacement dashboard light bulbs for your Honda Ridgeline 1st Generation, choosing reliable and genuine products is essential. Westwood Honda at 2400 Barnet Hwy, Port Moody, BC V3H 1W3 is your trusted Honda dealership and first choice for Honda auto parts. Here are a few other recommended sources:
- Authorized Honda dealerships: Honda dealerships offer genuine replacement parts, including dashboard light bulbs specifically designed for the Ridgeline 1st Generation.
- Online automotive retailers: Trusted online retailers specializing in automotive parts often carry a wide range of dashboard light bulbs suitable for the Honda Ridgeline 1st Generation. Ensure you choose a reputable seller with positive customer reviews.
- Local auto parts stores: Visit your local auto parts store, which may carry dashboard light bulbs compatible with your Honda Ridgeline. Be sure to provide them with the specific details of your vehicle to ensure a proper fit.
When purchasing replacement dashboard light bulbs, prioritize quality and compatibility to maintain the optimal performance of your Honda Ridgeline’s dashboard lights.
Enjoy a Safe Driving Experience
The Honda Ridgeline dashboard symbols in your Honda Ridgeline 1st Generation are vital in informing you about your vehicle’s status while on the road. Following the step-by-step guide to replacing these bulbs and implementing regular maintenance, you can revive your Honda Ridgeline dashboard and ensure optimal functionality.
Remember to troubleshoot any issues and seek professional assistance if needed. With proper care and attention, you can enjoy a well-illuminated dashboard and a safe driving experience in your Honda Ridgeline midsize truck.


